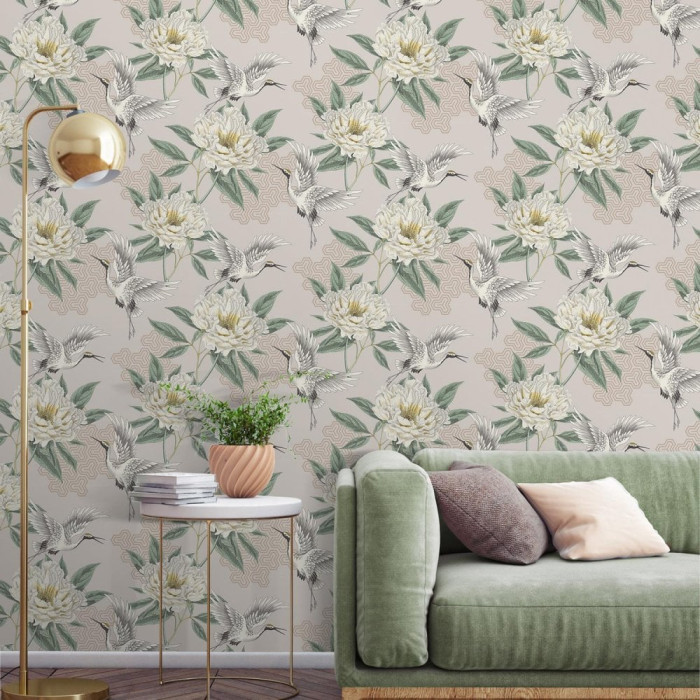
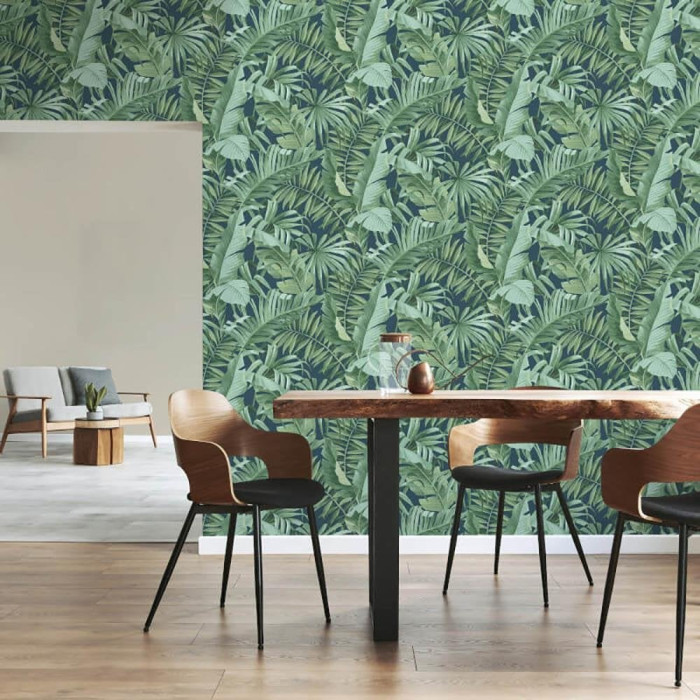
Patterned wallpaper is a fantastic way to infuse personality and style into any room.
Whether classic floral designs, fun tropical patterns or wild animal prints, patterned wallpaper stands out for its ability to create captivating visual effects.
However, hanging patterned wallpaper can be daunting, especially for DIYers, as lining up the pattern perfectly is enough to have us quaking in our overalls.
Fear not! In this comprehensive guide, we will walk you through the process of how to hang patterned wallpaper like an expert.
Table of Contents
- Before you start
- What is the difference between straight and drop-match patterned wallpaper?
- Step-by-step guide
- Top tips for hanging patterned wallpaper
Before you start
1. Check your wallpaper rolls
Ensure you have enough rolls of the same batch to cover all the walls. Wallpaper from a different batch may differ slightly in colour or pattern and ruin the look of cohesion.
2. Gather what you need:
- Wallpaper rolls
- Wallpaper paste
- Wallpaper brush or smoothing tool
- A seam roller
- A sharp utility knife
- A measuring tape, a level
- A pencil
- A wallpaper-pasting table
- A sponge or clean cloth
3. Prepare the walls
If you have old wallpaper, remove it before proceeding and make sure the walls are clean, smooth, and dry. Repair cracks or holes and sand down imperfections to leave a perfect base.
What is the difference between straight match and drop match patterned wallpaper?
Straight Match
A straight match pattern has design elements which match the same on adjoining strips.
Drop Match
A drop match means that the pattern will match up with a different spot in the design for the next strip.

Step-by-step guide
1. Measure and cut your wallpaper strips
Measure the height of your wall and add a few inches so you have excess overhang to trim for a clean look. Cut the wallpaper strips to the desired length, leaving a little extra at the top and bottom for adjustments.
When you cut your second strip, unroll it on top of your first and line up the pattern on the side furthest away from you. Cut your second drop to match your first, and repeat this process with your next drop.
Keep any offcuts to use behind doors or less visible areas.
2. Find the best starting point for your room
It’s normally best to start hanging the wallpaper from a corner or behind a door, somewhere less visible. This way, any pattern mismatch or uneven edges will be less noticeable.
However, if your pattern is bold or you have central features in the room, such as a chimney breast, start in the centre and work outwards for the best results.
3. Apply the wallpaper paste and let it soak
Follow the manufacturer’s instructions for mixing the wallpaper adhesive or use a pre-mixed paste.
For paste the paper
Apply the paste evenly on the back of the first strip of wallpaper using a pasting brush or roller, and cover the edges and corners. Leave it to soak for the recommended soak time.
For paste the wall
Apply the wallpaper adhesive straight to the wall and paste beyond the edges of where the wallpaper will sit before hanging.
4. Position the first strip
Carefully position the strip on the wall, leaving a slight overlap at the ceiling. Use a wallpaper brush or smoothing tool to press the wallpaper onto the wall from the centre outward, removing any air bubbles.
Ensure the pattern is aligned correctly with the previous strip, and use a seam roller to gently press down the seams and edges for a clean finish.
5. Trim the edges
Use a sharp utility knife to trim excess wallpaper at the top and bottom. Use a straightedge or level as a guide for precision cuts.
6. Continue hanging the wallpaper
Repeat the above steps for each subsequent strip of wallpaper, ensuring that the pattern matches and seams are aligned neatly.
7. Finishing touches
Once all the wallpaper is up, go over the entire wall to smooth out any bubbles or wrinkles. Wipe away any excess adhesive with a clean, damp sponge or cloth.

Top tips for hanging patterned wallpaper
1. Mark the paper to avoid hanging it upside down
Draw an arrow on the back of your wallpaper to ensure you don’t hang it upside down. Do it with every strip that you cut to avoid some funky-looking patterns.
2. Use a spirit level to make sure drops are straight
To ensure your drops are straight, use a spirit level and mark a line down a wall with a pencil. When you’re ready to hang the strip, use the pencil line to ensure the drop is straight.
3. Always measure twice
It can be easy to underestimate when cutting around light switches or where the skirting board is and end up with wallpaper drops that are too short. Always double-check your measurements and cut longer rather than shorter.
4. Don’t be scared to move it around
Wallpaper is tougher than it looks. Although you need to be careful when the paper is wet not to rip it, it’s also easier to peel off and move around until you’re happy with it, so don’t be afraid to move it around until it looks its best.

Shop our selection of patterned wallpaper
Hanging patterned wallpaper can be a rewarding and transformative DIY project. Confidently create stunning accent walls, elegantly decorate around windows, tackle corners like a pro with our expert guide and add stunning patterns to liven up your home.
At Wallpaper Shop, we offer plenty of stunning patterned wallpaper to liven up your space with tropical, floral, jungle, abstract prints and more. Shop the full collection and bring your design dreams to life.
Related Articles
How To Remove Wallpaper: What You Need To Know
Comments
One response to “How To Hang Patterned Wallpaper”
[…] How to Hang Patterned Wallpaper […]